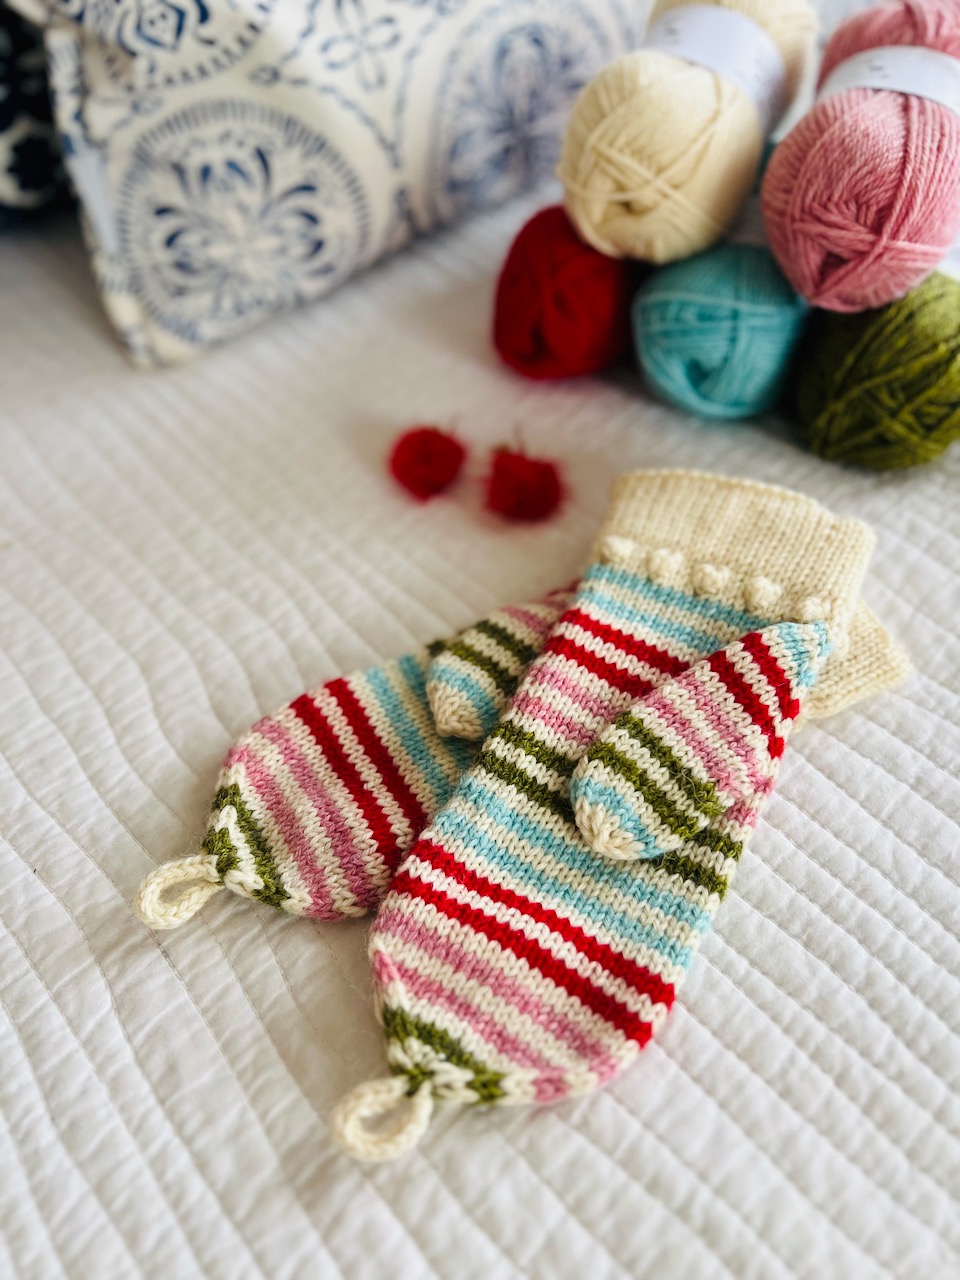
This New Year, I resolved a couple of things: To learn more about color work and to post more patterns (not necessarily in that order). Well…so far so good! I’ve just posted my Simply Striped Mittens pattern to my patterns page. Since stripes are part of my color work resolution, I’ve experimented with some tips and tricks for knitting them.
 It has been years since I’ve knit anything with stripes in the round, so as I plugged blithely along, I naturally encountered a bug or two. For starters, I found that my stripes did not line up nicely at the join, even though I worked the color change at the beginning of the round. Secondly, as I was carrying the main color up through the stripe, I found a little ridge was created. Here are some solutions to these and other pesky stripe questions.
1) To make jog-free stripes, knit the first stitch of your color change with the new and old color together. Knit the rest of the round with just the new color. When you get back around to the first stitch, pull up the old color very snugly and knit that first stitch (both colors together) with the new color. To ensure nice even tension, tug a little on the old yarn to make sure it’s snug after it’s been knitted.
2) To avoid a ridge when carrying the MC up through the stripe, I found a couple of things helped. Rather than carrying the non-working yarn as if for fair isle, I found I could just ‘trap’ the carried yarn between the working yarn and the work. That worked pretty well but while I was weaving in ends after the mittens were knitted, I discovered an even better way. I found it better not to carry the MC at all, rather to let the non-working yarn just lay behind the stripe. Then, while weaving in ends, I found I could simply weave over the MC strand to hold it in place. For more information on carrying yarn behind stripes, check out this great post at Pearl Bee.
In the process of writing the mitten pattern, I came upon a couple of good old-fashioned common sense tips for making perfect color changes:
1) Make your color changes in an inconspicuous area. The Simply Striped Mittens pattern has directions for a right and left mitten so that the color changes occur along the outside of the hand where they are almost impossible to see.
2) Tension while changing colors is oh-so important. Nothing gives away a color change like loose or sloppy stitches.
For my next trick, I am working on another Mitten Tree pattern, the Rag-Top Mitten. If my resolutions are to be kept I’ll have to post it tomorrow or Friday!





monsteryarns
Really great advice and lovely photos! Thanks.
Pearl
Thanks so much for stopping by! 🙂
Tracy
I vote you do a pair with the Hudson’s Bay blanket colours, traditional colours that is. What do you think?
Pearl
That’s is so funny! That’s exactly what I was thinking! 😀
Cindy
Ooooh I love those ivory mitts with flecked tips. Nice touch!
I’ve actually pinned this post for the striping techniques. 🙂
loavesandstitches
Nice mittens! I love mittens. Can’t wait to see more colorwork. I am pondering a really big colorwork project this year.
Pearl
I love that Lion Brand rag wool too but actually, this is not it. This is Rowan Purelife Undyed British Sheep Breeds DK. My country LYS had one skein left so I got it for a song! It’s one of those cool yarns that were spawned by the Campaign for Wool.
garretw
Is that Lion Brand Wool in the picture, the bottom one of the soon to be finished mittens? If so I have a sweater made out of that stuff and love it. The exact same kind. Cool huh?
garretw
I love them! I always have issues with stripes in the round. I have sort of accepted it with as a part of life. If you can’t beat um’ might as well join um’.