
Buttonholes. They’re scary. They’re always front and center and happen at a make-it-or-break-it point in a project. That’s why I love this reliable one-row buttonhole. Now, I didn’t invent this method; it comes up in patterns and books all the time. It has a nice, polished, bound look and is much easier to knit than it looks. And because it is accomplished by slipping stitches rather than knitting them, it won’t stretch like other buttonholes.

Horizontal Buttonholes

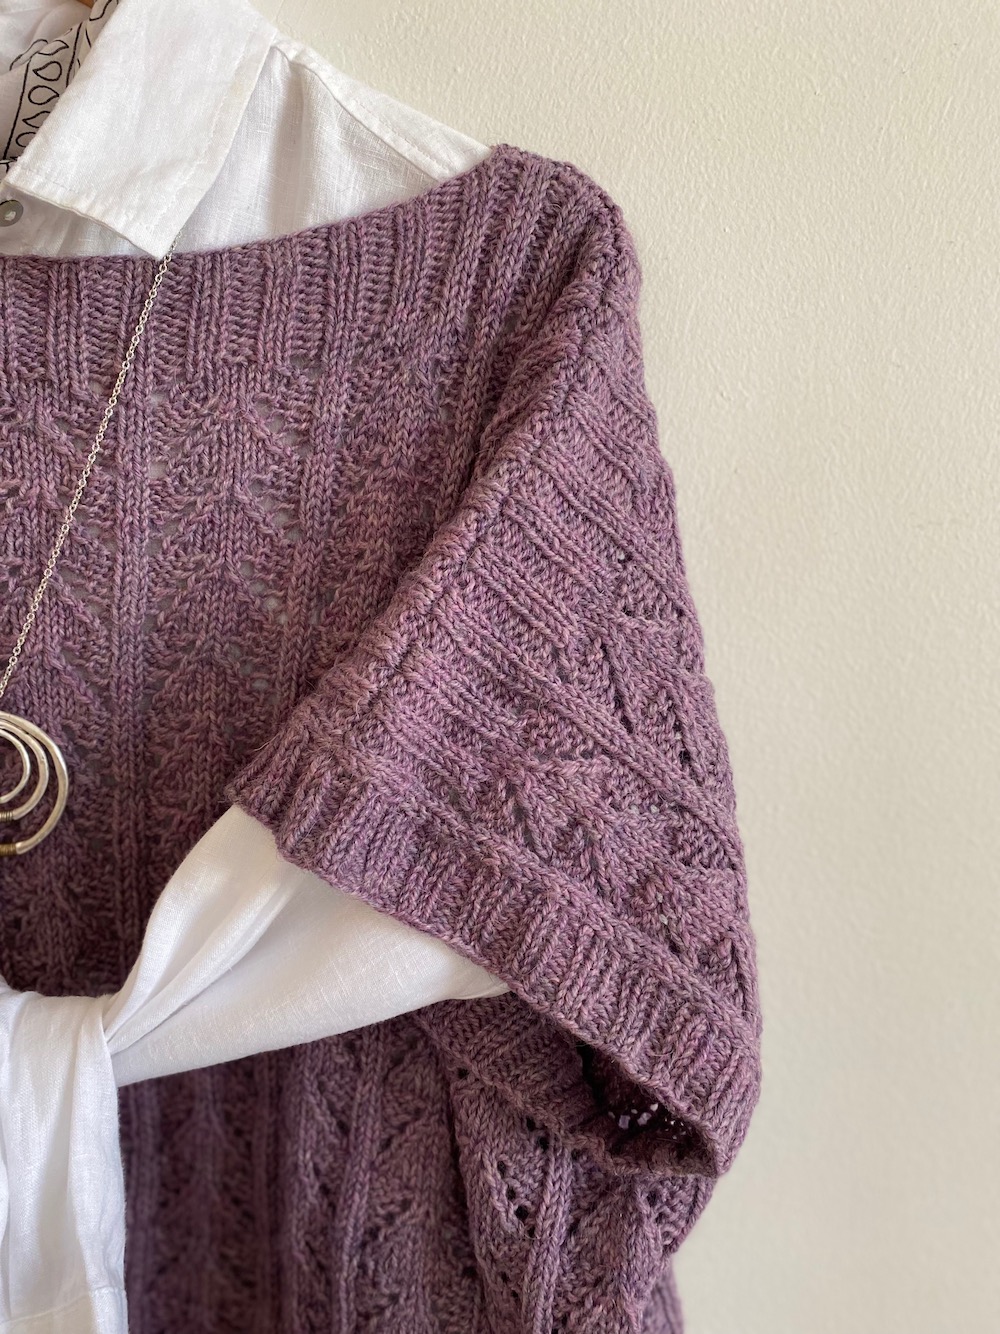
The one-row buttonhole is worked in the same direction as you are knitting. If you’re knitting a buttonhole band that is worked in the same direction as the sweater, whether the band is attached or separate, your buttonholes will be horizontal. With the Brewster Cardigan, I worked my buttonholes into a band that began at the hem, then was sewn in place along the front edge. Because I was working the band horizontally, the buttonholes are horizontal. When you’re working a horizontal buttonhole, remember that the button will likely slide to the outermost corner when there’s stress on the fabric. Be sure to plan their placement appropriately.

Vertical Buttonholes
If you are working your buttonhole band from stitches picked up at the front edge, your buttonholes will be vertical. I used vertical buttonholes on my Olympia cardigan because of the construction of the collar. I wanted deep ribbed bands that grew into a shawl into a shawl collar using short rows. In this case, I worked two rows with buttonholes with about 4″ between them.

One-Row Buttonhole Method
- Step 1: Step 1: Usually, you’ll begin on a RS row. Work your way over to where you’ve planned the start of your buttonhole opening.
- Step 2: Slip 1 with yarn in front, then move the yarn to the back.
- Step 3: Next, you’ll be binding off stitches without using the working yarn. (The working yarn will remain at the far right of your work; you’ll need it here later.) To bind off, slip a stitch from the left needle to the right. Pass the right-hand stitch over. Repeat this until you’ve cast off the desired number of stitches.
- Step 4: Slip the last remaining stitch from the right to the left needle. Turn the work.
- Step 5: With yarn in back and using the cable cast on method, cast on the same number of stitches as were bound off, plus 1. Turn.
- Step 6: With yarn in back, slip a stitch from the left to the right needle, then pass the last cast on stitch over it. You’ve just gotten rid of the extra cast on stitch, and you’ll find your working yarn exactly where it needs to be in order to continue knitting.
So there you have it! The world’s best one-row buttonhole in just a few easy steps.
Huzzah!


k1teach2
Oh thank you for the buttonhole tutorial. I am almost always less than pleased with how my buttonholes look. I’ve read about a number of different ways to improve them, but mist seem so fussy that In the moment when I need it, I can never remember all the steps (or where I saw the tutorial!) This method seems logical and I like the cable caston instead of backwards loops, especially for an area which will be under constant stress.
Little Church Knits
You’d like it! You’ll only need to follow the steps for the first couple of buttonholes, then you’ll have it in your head forever 😉