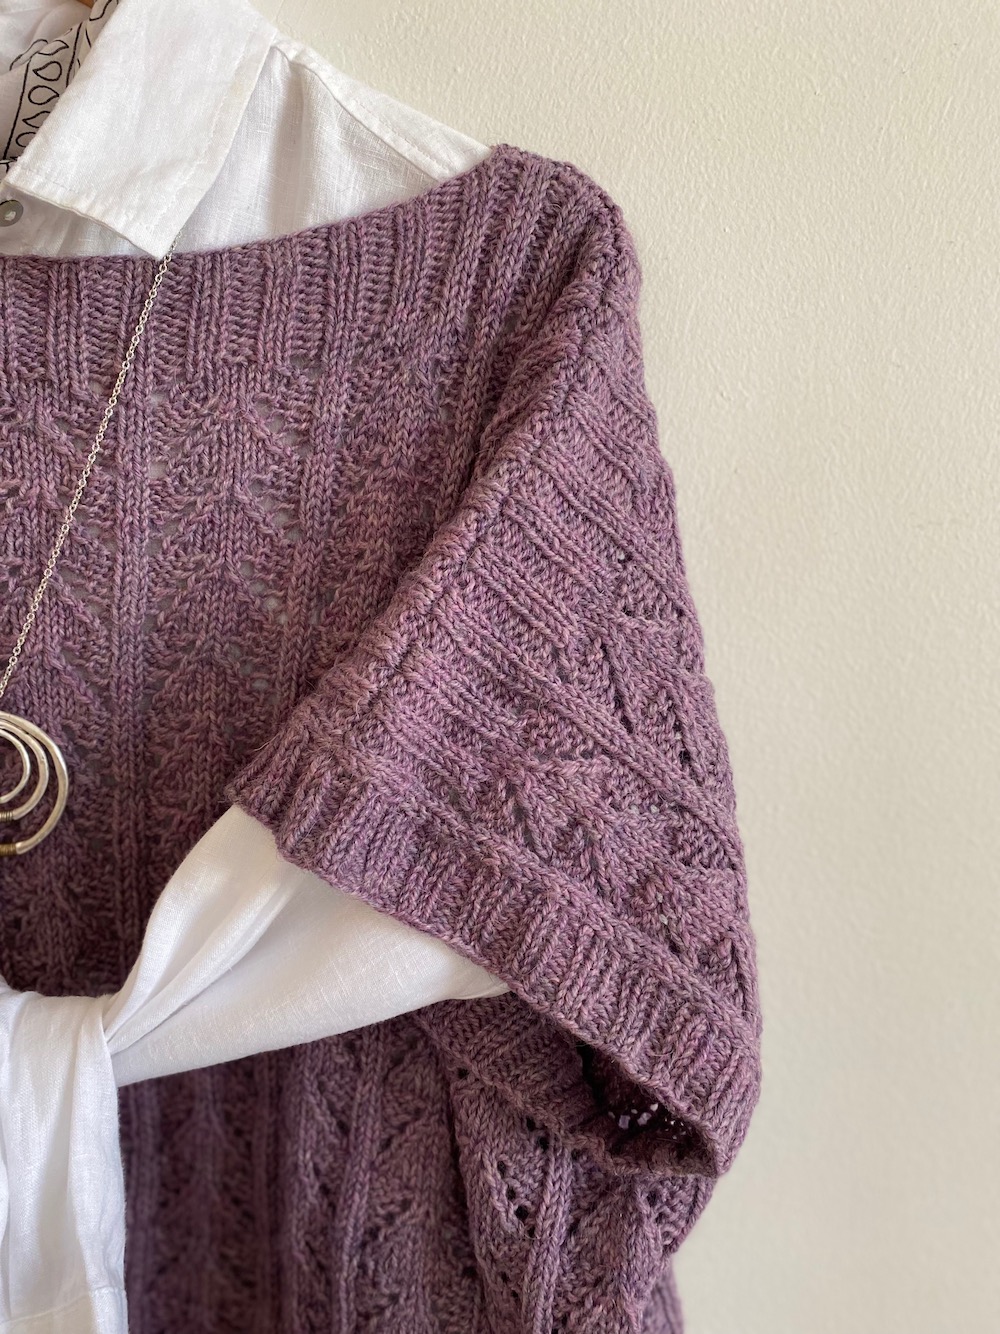
Attaching buttons has to be one of the most vexed issues in knitting. Knitters are polemically divided about whether or not it is correct to use a sharp needle or a blunt one, splitting the knitted yarn or working between the strands, whether to use yarn, matching or de-plyed, or good old fashioned sewing thread. I know knitters (and you know who you are) who cleverly attach buttons using one long strand of yarn to avoid weaving in multiple ends and to prevent the loss of a precious button should it become detached. Before I sewed the buttons to my newly finished Martha Cardigan, I did a quick How-To search.
Types of Buttons
First, you’ll need to know what sort of button you’re trying to attach. Is it flat with holes drilled right through (a flat button) or does it have a loop at the bottom where thread and needle can pass through (a shank button)? Either way, you’ll need to make sure your button is set far enough from the face of the knitted fabric to accommodate the thickness of the button band. This way, your button sits sweetly in front of the buttonhole without straining and will be less likely to pop out of the buttonhole too. This is particularly important with flat buttons, but something you’ll want to consider with shank buttons too. If your chosen button is heavy, you may want to consider using a backing button, a simple flat button, usually clear, that is sewn to the back of the button band at the same time as the feature button. This will distribute the weight of the feature button so that it doesn’t fall forward on the surface of the garment.
 To easily make a nice uniform shank, place a toothpick, a wooden skewer or a fine dpn between the button and the face of the fabric while you sew it on. This preserves a little space and prevents you from sewing the button on too tightly. This method can be used for flat or shank buttons.

Positioning

Where your buttons are placed on the button band is important, particularly if your buttonholes are horizontal. Keep in mind that, when closed, buttons will slide to the outside corner of your buttonhole possibly exposing too much of the button band below. If buttonholes are horizontal, place the buttons a little closer to the inside edge of the band. Vertical buttonholes are a little more forgiving, as are button loops, but it’s worth taking the time to be precise. I like to button up each button as I go just to make sure the position of the next button is perfect. And of course, before you do anything, check to make sure your chosen button fits through the button hole!
Yarn or Thread?
This will depend in large part on your project. If you fall into the “don’t-split-the-yarn” camp, you’ll want to use yarn and a blunt tipped tapestry needle. Just be sure the eye of the needle and the yarn it carries will fit easily through the holes or the shank loop in your button. If it’s tight, there’s a chance you’ll crack the button or break the eye of the needle. If you opt to use yarn and your project yarn is very heavy, you can use a lighter weight yarn, lace or fingering weight, in a matching color. You can also choose to de-ply or separate your garment yarn, using just a single ply to sew on buttons. In either case, make sure the yarn is strong enough to hold the button reliably.

Using thread is very easy, reliable, doesn’t show and doesn’t require the weaving in of any ends. You will be splitting through the knitting yarn, in case you’re squeamish and you should know that if you ever need to change the buttons, you may have a difficult time removing them without snipping the knitted fabric. Whether you’re using thread or yarn, though, make sure you take a nice bite of knitted fabric with your stitches. If you attempt to attach a button to a single strand of yarn or even a single stitch, it will distort the surrounding fabric. I like to attach my buttons with thread in a matching color just as I would if I was making a blouse. And I like to put them on individually in case I need (or want) to change or replace just one.
Ultimately, I think button methods are a matter of personal choice and common sense. If you find a method that works for you, use it without worrying unduly about “The Rules” and of course, if it ain’t broke, don’t fix it. Happy Knitting!


